15 March 2024
Constructing a Base for Your Tank: A Step - by - Step Guide
Building a sturdy base for your tank is a vital part of the installation process. Whether you are considering a new tank or have already selected one, a sturdy base is essential.

A full rainwater tank is exceptionally heavy, so the base must fully support it. This guide will take you through the necessary steps, regardless of your skill level, to prepare and construct a durable base for your water tank.
Equipment and Materials Needed:
- Marker Paint and Pen
- Tape Measure
- Digging/Spreading Equipment (e.g., Rake, Shovel)
- Spirit Level
- Wheelbarrow (if required)
- 16 Star Pickets (450mm)
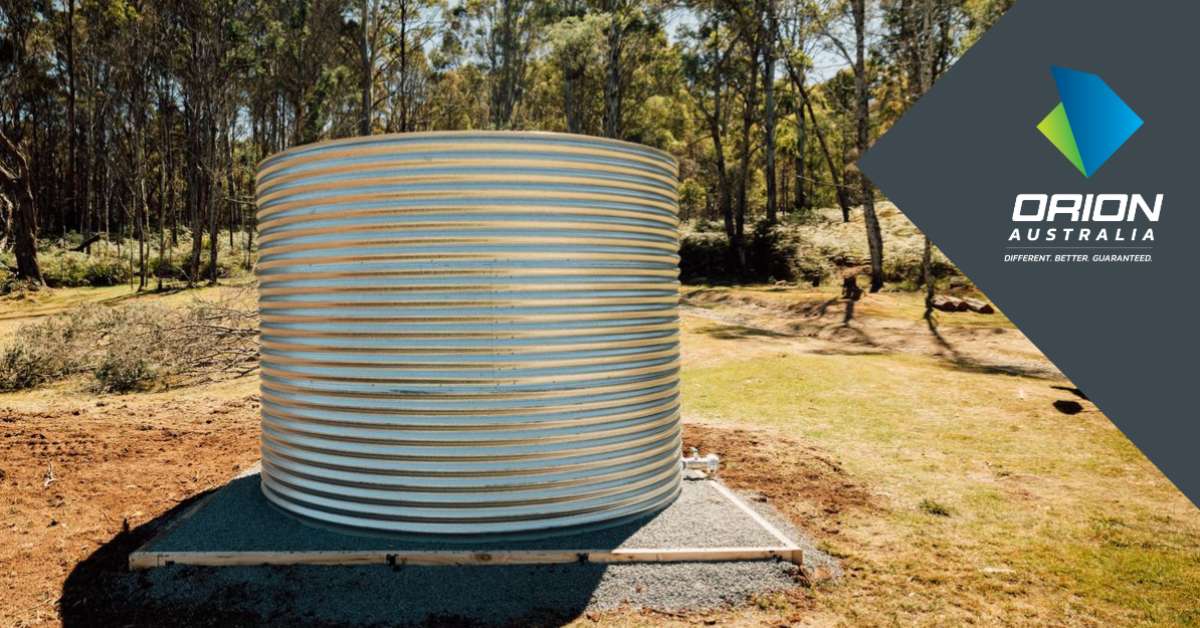
- 4 lengths of Treated Pine Framing (45x90mm – pictured). We recommend that your tank base dimensions are at least 300mm larger than the water tank base dimensions.
- Saw (if timber needs cutting)
- Thick Gauge Timber Screws (approximately 75mm and 40mm in length if using 45x90mm pine)
- Drill and Drill/Driver Bits suitable for the screws.
- Sledgehammer or equivalent for driving pickets.
- 7 mm Crushed Blue Metal (Gravel)
- Compacting Plate (a tamper for small bases, mechanical for a large base or an excavator bucket can be used)
- Long Piece of Timber or Steel with a Straight Edge (for use as a screed)
Step 1: Mark Out the Location
Identify and mark out the desired location for your tank. If unsure of any services under your proposed location, we recommend contacting "Before You Dig Australia" before proceeding to the next step.
Step 2: Level and Prepare the Area
If you are working on a sloping site, we recommend that the tank site is cut into existing ground rather than built up above ground level - there is less risk of erosion and subsiding in future.
Step 3: Construct a Retainer
Predrill and assemble the treated pine lengths into a frame this serves as the edge of your tank base. Lay the frame on prepared ground, ensuring it is level and square.
Step 4: Secure Retaining Edge
Starting at the lowest edge, drive 450mm star pickets driven along all edges of the retainer and secure the retainer to them. Maintain good levels in all directions as you proceed.
Step 5 Add the Fill Material (7mm Blue Metal)
Fill the retainer with gravel and compact it lightly using either an excavator bucket or a compacting plate and screed until it is level. 7mm screened blue metal acts as a deterrent to rabbits and rodents and is particularly suitable for galvanised tanks as it allows water to escape, reducing the risk of rust. Check for any gaps around the retainer edge and fill them with soil or gravel.


