05 April 2024
How to Install a Jacky® - Raimo Bulk Bag Dispenser
Accessing bulk materials does not have to be difficult or unsafe, if you have free-flowing materials bagged up and need to access them easily, regardless of quantity, consider using a bulk bag dispenser.

Benefits:
- Complete control over product flow from bulk bags
- Quick, easy, and safe installation and use
- Re-usable
- Flexible discharge chute for directional discharge
- Plastic/Stainless steel construction for corrosion resistance
Dispenser Components:
- Dispensing Tube with flexible hose
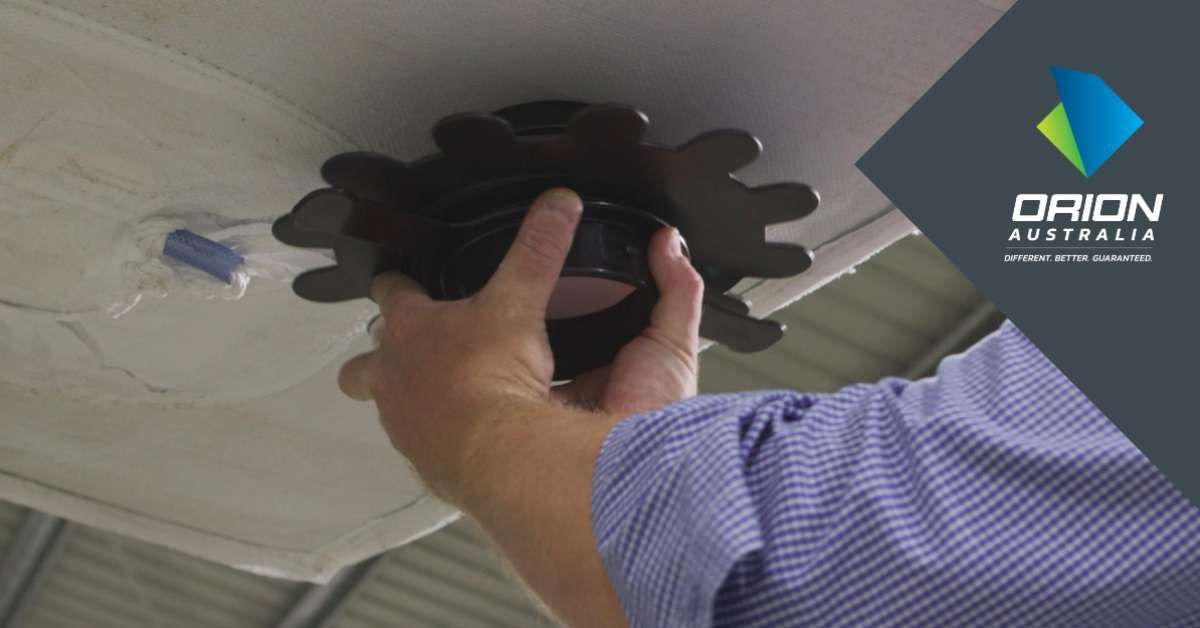
- Locking ring (Sunflower-shaped moulding)
- Dispenser component (Screws into the bulk bag)
Installation Steps:
Step 1: Remove Red Safety Guard
Take the Jacky® Raimo dispenser and remove the red safety guard exposing the very sharp cutting knives that are located on either side of the dispenser unit.
Step 2: Identify Dispenser Location
Choose a place at the base of your bag. If the bag has an integral chute, avoid this area by not cutting in the patch line of it. Making sure the location is where there is a single skin layer.
Step 3: Add Locking Ring
Fit the locking ring onto the dispenser, with the writing facing upwards towards the bag when its installed. Thread the ring and wind it as low as it will go.
Step 4: Pierce the Bag
With the discharge gate shut, push the dispenser up into the base piercing the bag. Turn in a clockwise direction to 180 degrees to cut into the bag, then continue to wind the dispenser through.
Step 5: Tighten Locking Ring
Once threaded into the bag, wind the locking ring up towards the bag as far as it will go to secure the bag to the dispenser.
Step 6: Attach the Flexible Chute
If required, attach the flexible discharge chute by pushing it in and clicking it into place. If you wish to lower the bulk bag while it is not empty, we recommend that you remove the flexible chute before gently lowering the bag. Take care not to put pressure on the dispenser, you may like to place some timber either side to prevent any damage from happening. After finishing with the bulk bag, unwind the discharge chute and replace safety guards.
Now dispensing your Bulka bags has just got a whole lot easier!
If you have any questions on how best to use a Jacky® Raimo bulk bag dispenser or how to install it in a method that works best for you, contact the team at Orion Australia or check out our latest video on How to Install a Jacky®-Raimo Bulk Bag Dispenser.


