04 August 2022
What’s the Best Way to Join My Rainwater Tanks?
Are you thinking of installing more than one water tank? Installing multiple tanks isn’t uncommon, and there could be a few reasons for that.

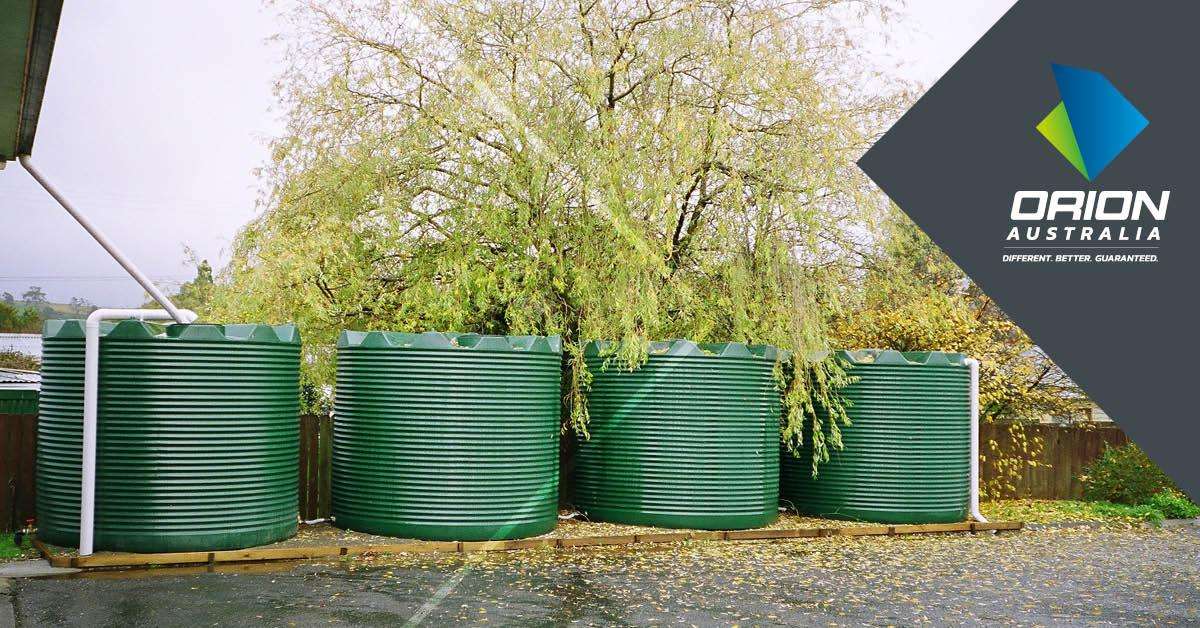
Maybe you need a large water storage capacity, and you simply can’t get it with a single tank; maybe you have a long, narrow space and a tank with a large diameter simply won’t fit. Whatever the reason, installing and joining multiple tanks is an everyday practice for Orion customers. It’s also pretty straightforward. And on top of that, we highly recommend it because it’s a great way to maximize the efficiency and functionality of your water storage.
There are a couple of different ways to go about joining your tanks, and the ideal solution for you will be determined by your site and the way you intend to use your stored water. Read on to learn about the two most common ways to join multiple rainwater tanks:
1. Joining Tanks at the Top
Your water tank will be supplied with an overflow fitting in the top, and linking your tanks at the top is simple and relatively straightforward: when tank #1 is full, it overflows into tank #2 and so on until all the tanks are full.

As in the diagram above, the overall water level across the series of tanks will be limited by the height of the overflow pipe in tank #1. Because filling from the top requires on gravity, the inlet of tank #2 should be slightly lower than the overflow of tank #1, and so on, in a step pattern to the end of the chain.
Ideally, a series of tanks that are being filled from the top should be positioned across a slight incline or on stepped pads to maximize the amount of water stored. Not sure how to do this on your site? Flick us a message here and we’d be glad to chat with you about your best option.
Using this system, tank #2 will not start to fill up until tank #1 is full, which may mean that the water tanks in the series are empty while the first few tanks are full. Although this isn’t necessarily a problem, it pays to be aware of this because empty tanks are lighter and could be moved around by high winds or water washing around the base of the tank.
When all tanks are full, any excess water will be drained via the overflow on the last tank.
Tanks joined at the top have the advantage that each tank can be drained individually, without affecting the water level in the other tanks. For example, if you should wish to clean out one particular tank in the series, you can easily drain it and clean it out without contaminating or affecting the water in the tanks on either side.
2. Joining Tanks at the Bottom
If you’re planning to position your series of tanks on a level base, joining them at the base will probably be your best option.
By connecting the tanks at the bottom, all tanks will fill evenly: as the water enters tank #1 it will fill until it reaches the height of the connecting pipe, then spill into tank #2, and so on to the end of the series. As the water continues to flow in, the level in each tank will rise evenly.
So, what about overflow? When all of the tanks are full, any excess water can be removed via the overflow outlet in the first tank (see diagram below).

In the same way that they fill evenly, tanks joined at the bottom will drain evenly, unless you install a tap between the tanks.
If you wish to be able to access the water in a particular tank, we recommend installing a ‘T’ between each tank and running a pipe along the front of your water storage (see diagram above) so that you can access each tank individually.
Keep it Clean
To prevent your water storage being contaminated, we recommend that any tanks that are being used solely for storage should have outlets, inlets and leaf strainers covered or capped off. This noticeably reduces the chances of dirt, debris and other contaminants entering the water. In addition, preventing light from entering water storage will lower the chances of algae bloom inside the tank.
Do I Have to Install Taps Between my Tanks?
There’s no One Size Fits All (OSFA) answer here because it depends on what you’re using your harvested water for. Having said that, your tanks are a long-term investment (the average lifetime of poly tanks is a lifetime!) so it’s highly likely that your demands will change so why not install the extra plumbing from the get-go?
Why is it important to be able to access one particular tank? We recommend adding in the extra plumbing so that if the water in one tank becomes contaminated (why do possums and rats always choose to die around the water tank?!), you can easily shut off that tank and clean it out, without affecting the rest of your storage.
How Important is the Tank Base?
We realize that we might sound like a broken record here folks, but we’re stressing it again: a good, solid tank base is critical! To provide proper drainage and ensure that your pipework isn’t under any undue stress, you need a tank base that is level, well-compacted and stable.
Believe us when we say that going the extra mile with your tank base is the only way to make sure your tanks are an efficient, low-maintenance asset for decades to come!
Like to know more about preparing your tank base? Check out our article Sand vs Rock – What’s the Best Material for my Tank Base?
If you’ve got any more questions about installing or joining your rainwater tanks, send a message our way right here or call us today on 1800 752 784.


